Skip to content
The creation of a single T-shirt involves multiple steps, from fabric preparation to printing and finishing. Each process plays a critical role in ensuring the final product is comfortable, durable, and visually appealing.
The three main production processes used to create a T-shirt include fabric selection and preparation, printing or dyeing designs, and cutting and stitching the garment together. These steps transform raw materials into a finished product ready for wear.
Let’s break down each process in detail and explore how T-shirts are printed to achieve vibrant, high-quality designs.
What process is used to print most T-shirts?
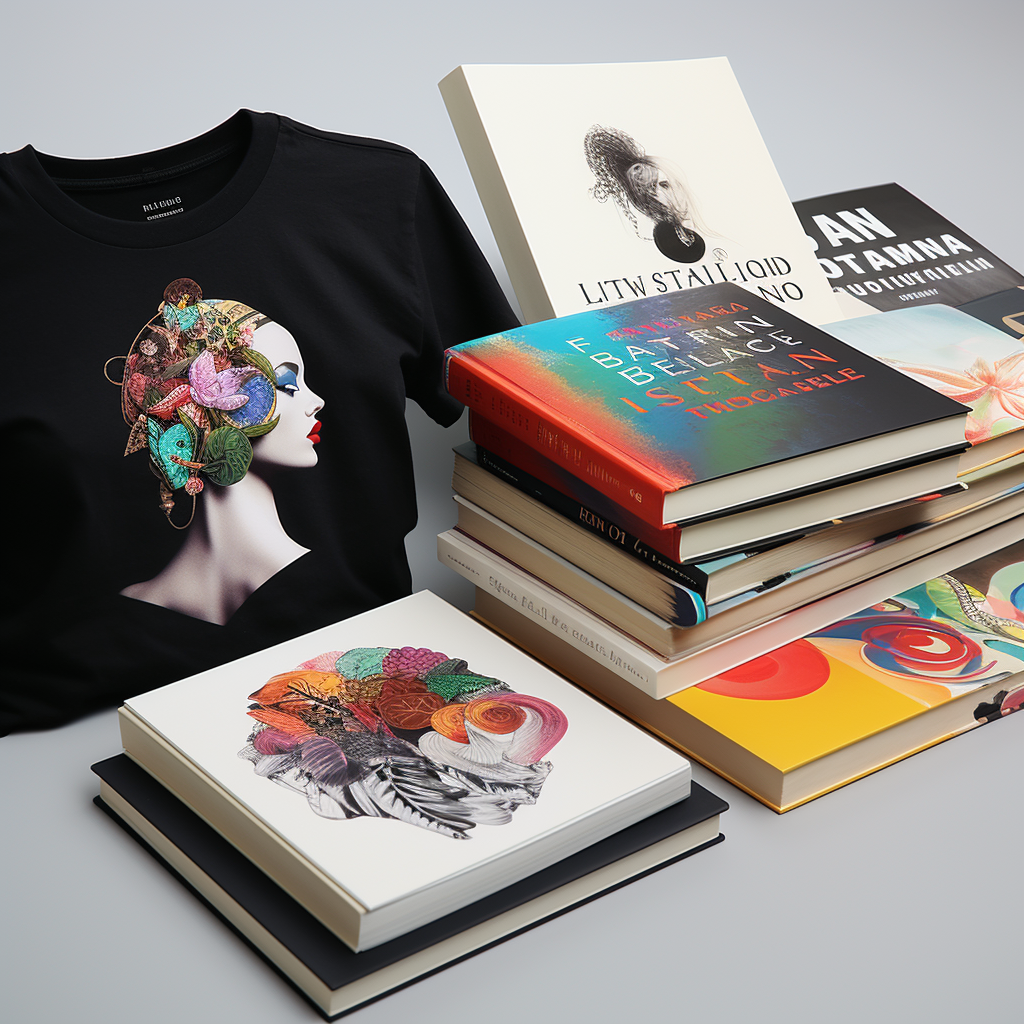
Printing is one of the most critical steps in T-shirt production. It adds graphics, logos, and designs that make each T-shirt unique. Several methods are used to print T-shirts, but some are more popular for their cost-efficiency, quality, and suitability for different production scales.
Screen printing1 is the most commonly used process to print T-shirts due to its ability to produce high-quality, durable prints in large quantities. Other popular methods include heat transfer printing2 and direct-to-garment (DTG) printing3 for smaller, custom orders.

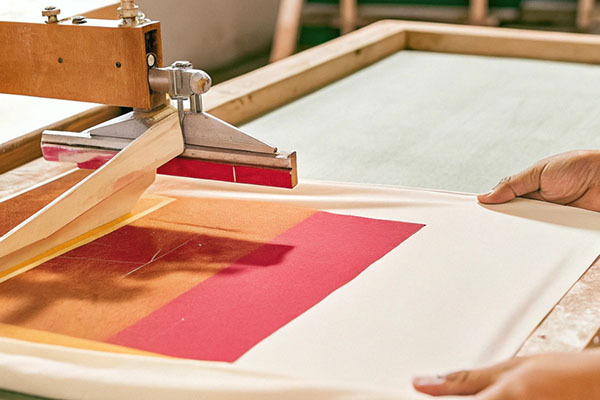
1. Screen printing: The most popular method
Screen printing, also known as silk screening, is a traditional and widely used printing technique. It involves creating a stencil (or screen) for each color in the design and pressing ink through the mesh screen onto the fabric.
How screen printing works:
- Create the Design: The graphic is separated into different color layers.
- Prepare the Screens: Each color requires a separate mesh screen coated with a light-sensitive emulsion.
- Apply Ink: Ink is pushed through the screen using a squeegee onto the T-shirt.
- Cure the Print: The ink is heat-dried to set it permanently into the fabric.
| Screen Printing Feature | Benefit |
|---|---|
| High Durability | Designs last through many washes. |
| Cost-Effective | Ideal for bulk production. |
| Bold, Vibrant Colors | Produces solid, high-quality prints. |
Best Use Cases:
- Large production runs.
- Simple designs with fewer colors.
- Uniforms, promotional T-shirts, and band merchandise.
Pro Tip: Using water-based inks4 is a more eco-friendly option compared to traditional plastisol inks, reducing the environmental impact of screen printing.
2. Heat transfer printing: Perfect for small batches
Heat transfer printing2 involves transferring a design from a special sheet (like vinyl or sublimation paper) onto the T-shirt using a heat press machine. It’s a popular choice for small businesses, DIY projects, and custom orders.
How heat transfer printing works:
- Prepare the Design: The design is printed onto heat transfer vinyl (HTV) or sublimation paper.
- Position the Design: The transfer sheet is placed onto the T-shirt.
- Apply Heat and Pressure: A heat press machine applies heat and pressure to bond the design to the fabric.
| Heat Transfer Feature | Benefit |
|---|---|
| Versatile | Works for small and custom orders. |
| Vibrant Prints | Suitable for full-color graphics. |
| Low Setup Costs | Ideal for DIY and small-scale use. |
Best Use Cases:
- Custom one-off T-shirts.
- Personalized designs, like names or photos.
- Small businesses testing new designs.
Pro Tip: Use high-quality vinyl for long-lasting results, as low-quality materials may peel after washing.
3. Direct-to-garment (DTG) printing: High-quality for small orders
Direct-to-garment (DTG) printing3 is a modern method that uses specialized inkjet printers to print designs directly onto the fabric. It’s perfect for detailed, multi-color designs and small-batch production.
How DTG printing works:
- Prepare the T-Shirt: Pre-treat the fabric to ensure the ink adheres properly. Pre-treat fabric pretreatment for DTG printing5.
- Print the Design: A DTG printer applies water-based ink directly to the T-shirt.
- Cure the Print: Heat is used to set the ink into the fabric.
| DTG Printing Feature | Benefit |
|---|---|
| Full-Color Capabilities | Produces detailed, vibrant prints. |
| Ideal for Custom Orders | Perfect for one-offs or small runs. |
| No Screens Required | Saves time and setup costs. |
Best Use Cases:
- High-quality, detailed graphics.
- Small-batch or on-demand orders.
- Personalized designs or artworks.
Pro Tip: DTG works best on 100% cotton fabrics, as the ink adheres more effectively compared to synthetic blends.

Step 1: Fabric selection and preparation
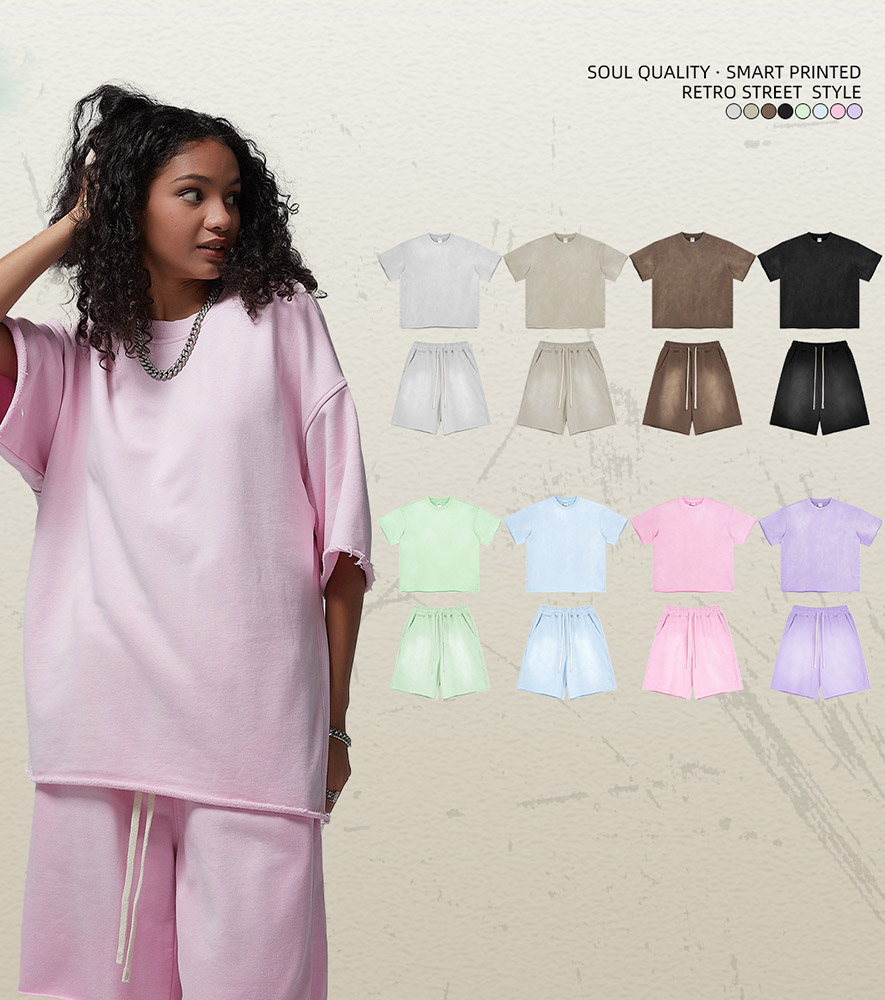
Before any printing or sewing happens, the first step in T-shirt production is choosing the right fabric and preparing it for production.
Fabric types used for T-shirts:
- Cotton: The most popular material for T-shirts, known for its softness, breathability, and comfort.
- Blends (Cotton-Polyester): Combine durability and moisture-wicking properties, ideal for athletic wear.
- Polyester: Used for sportswear due to its quick-drying and wrinkle-resistant nature.
| Fabric Type | Key Features |
|---|---|
| 100% Cotton | Soft, breathable, ideal for casual wear. |
| Cotton-Polyester Blend | Durable, wrinkle-resistant, and affordable. |
| Polyester | Lightweight and moisture-wicking. |
Fabric preparation:
- Pre-Washing: Fabric is pre-washed to prevent shrinkage after production.
- Cutting: Large rolls of fabric are cut into T-shirt patterns using automated cutting machines or laser cutters for precision.
Pro Tip: High-quality T-shirts often use combed cotton or Pima cotton for extra softness and durability.
Step 2: Cutting and sewing the T-shirt
After the fabric is prepared, it is cut into precise patterns and stitched together to form the T-shirt.
Cutting the fabric:
- Manual Cutting: Suitable for small-scale production.
- Automated Cutting Machines: Used for bulk production to ensure precision and efficiency.
Sewing the T-shirt:
Industrial sewing machines or sergers are used to assemble the T-shirt pieces. The seams are reinforced to ensure durability.
| Machine Used | Purpose |
|---|---|
| Serger (Overlock) | Trims and finishes edges. |
| Coverstitch Machine | Creates professional hems. |
| Standard Sewing Machine | Basic assembly and topstitching. |
The T-shirt is now ready for printing or finishing.
Step 3: Printing and finishing the T-shirt
The final step is adding designs, logos, or patterns using methods like screen printing, heat transfer, or DTG printing. After printing, the T-shirts go through quality checks and finishing processes.
Finishing processes:
- Curing: Designs are heat-treated to ensure the ink sets permanently.
- Quality Control: Shirts are inspected for defects or inconsistencies.
- Folding and Packaging: The finished T-shirts are folded, tagged, and packaged for delivery or sale.
Pro Tip: Ensure quality control checks include seam strength, print durability, and fabric consistency.
Conclusion
The production of a single T-shirt involves three key processes: fabric selection and preparation, cutting and sewing, and printing or finishing the garment. Screen printing1 remains the most popular method for adding designs, particularly for large batches, while heat transfer printing2 and direct-to-garment (DTG) printing3 are ideal for small orders and custom T-shirts. By understanding these processes, you can appreciate the craftsmanship behind every T-shirt and make informed choices when creating or purchasing them.
-
Find proven stenciling technique ensuring vibrant, lasting shirt graphics. ↩ ↩
-
Learn efficient vinyl transfer methods ensuring sharp, durable designs. ↩ ↩ ↩
-
Understand advanced inkjet solutions providing crisp prints on cotton. ↩ ↩ ↩
-
Explore eco-friendly printing inks reducing pollution while enhancing color. ↩
-
Discover pretreatment steps enabling better ink absorption and durability. ↩