Skip to content
Designing and making your own hoodie from scratch is an exciting way to create a unique, high-quality garment that reflects your personal style or brand identity. But where do you start?
To create your own hoodie from scratch, you need to choose the right fabric, develop a design, create a pattern, cut and sew the fabric, and add finishing touches like embroidery, prints, or labels.
Whether you’re making a custom hoodie for yourself or launching a fashion brand, let’s break down the steps to bring your hoodie to life.

What Materials Do You Need to Make a Hoodie?
Before you start cutting and sewing, you need to gather the right materials.
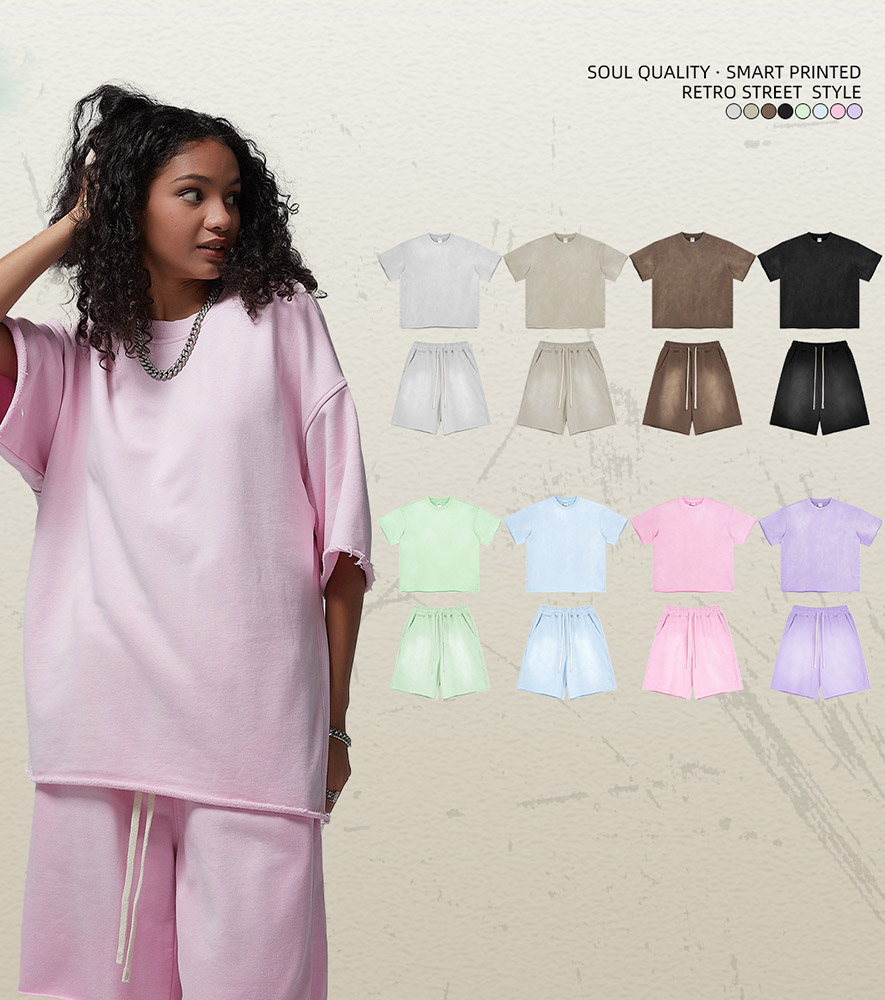
The best hoodies are made from high-quality fabrics1 like cotton fleece, French terry, or heavyweight cotton blends, providing warmth and durability.
Essential Materials:
-
Fabric Selection
- Cotton Fleece (320-400 GSM) – Soft, warm, and commonly used for hoodies.
- French Terry (280-350 GSM) – Lightweight with a smooth outside and looped interior.
- Cotton-Poly Blend (50/50 or 80/20) – Durable, shrink-resistant, and affordable.
-
Sewing Supplies
- Sewing machine2 (preferably with an overlock/serger function).
- Thread that matches or complements your fabric.
- Scissors, fabric chalk, measuring tape, and pins.
-
Hoodie Accessories
- Ribbed cuffs and waistband fabric for stretch.
- Hood drawstrings and eyelets.
- Zippers (for zip-up hoodies) or buttons (if desired).
| Material | Purpose |
|---|---|
| Cotton Fleece | Warm and soft, ideal for winter hoodies |
| French Terry | Lightweight and breathable |
| Cotton-Poly Blend | Durable and shrink-resistant |
| Ribbed Cuffs | Provides elasticity at the sleeves and hem |
| Drawstrings | Adjusts hood tightness |
How to Design Your Own Hoodie?
The design phase is where you decide on the fit, style, and features of your hoodie.
A good hoodie design should balance functionality, aesthetics, and comfort.
Key Hoodie Design Elements:
-
Fit and Cut
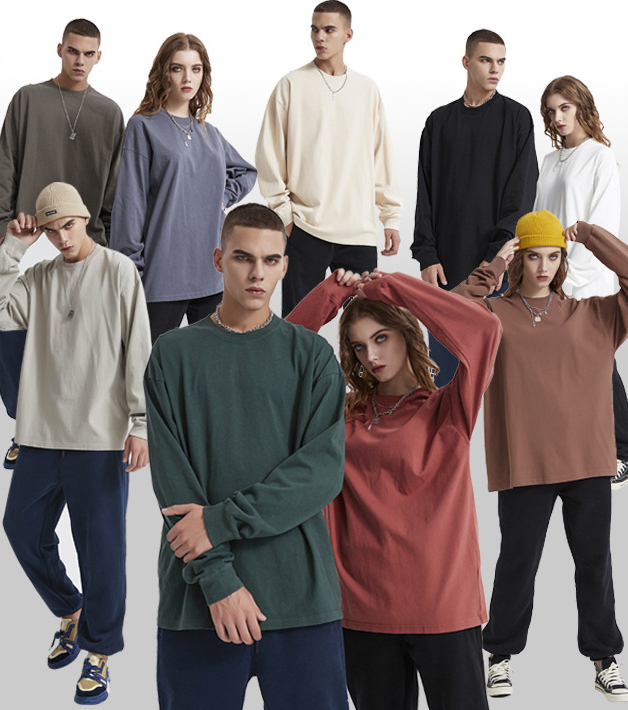
- Oversized: Baggy, streetwear style.
- Regular Fit: Classic everyday hoodie.
- Slim Fit: Modern and athletic style.
-
Hood Style
- Standard hood with drawstrings.
- Double-layered hood for a premium feel.
-
Pocket Type
- Kangaroo pocket (classic hoodie style).
- Side-seam pockets for a sleek look.
- No pockets for a minimalistic design.
-
Sleeves and Cuffs
- Ribbed cuffs for a snug fit.
- Thumbhole cuffs for added functionality.

| Hoodie Feature | Design Options |
|---|---|
| Fit | Oversized, Regular, Slim |
| Hood | Single-layer, Double-layer, Adjustable |
| Pockets | Kangaroo, Side-Seam, No Pockets |
| Cuffs | Ribbed, Thumbhole |
How to Create a Hoodie Pattern?
A pattern is a blueprint for your hoodie, guiding the cutting and sewing process.
You can create a hoodie pattern by tracing an existing hoodie or using a downloadable pattern template.
Steps to Create a Pattern:
-
Find an Existing Hoodie (Optional)
- Lay your favorite hoodie flat and trace its shape onto paper.
-
Download a Hoodie Pattern
- Many free and paid hoodie patterns are available online for different styles.
-
Adjust for Customization
- Modify the pattern to add length, change pocket placements, or adjust fit.
-
Label Each Pattern Piece
- Front panel, back panel, sleeves, cuffs, waistband, hood.
-
Add Seam Allowances
- Leave a ¼ to ½-inch margin around each piece to allow for stitching.
| Pattern Piece | Purpose |
|---|---|
| Front Panel | Main body of the hoodie |
| Back Panel | Supports overall structure |
| Sleeves | Covers arms and determines fit |
| Hood | Covers head, adds warmth |
| Cuffs & Waistband | Provides elasticity |
How to Cut and Sew a Hoodie?
Once your pattern is ready, it’s time to cut and assemble your hoodie.
Sewing a hoodie requires precision, starting with attaching the main body, then the sleeves, hood, and finally finishing details.
Step-by-Step Sewing Process:
-
Cut the Fabric
- Lay your pattern on the fabric and cut carefully.
-
Assemble the Body
- Sew the front and back panels together at the shoulders.
-
Attach the Sleeves
- Align and sew sleeves to the armholes.
-
Sew the Side Seams
- Stitch from the sleeve cuffs to the bottom hem.
-
Attach the Hood
- Sew the hood pieces together and attach to the neckline.
-
Add Cuffs and Waistband
- Use ribbed fabric for stretch and elasticity.
-
Finish with a Topstitch
- Reinforces seams and adds a professional touch.

| Step | Action |
|---|---|
| Step 1 | Cut fabric using the pattern |
| Step 2 | Sew front and back panels together |
| Step 3 | Attach sleeves to armholes |
| Step 4 | Sew side seams |
| Step 5 | Attach the hood |
| Step 6 | Add cuffs and waistband |
| Step 7 | Topstitch for reinforcement |
How to Customize Your Hoodie?
Adding unique details makes your hoodie stand out.
Customization options include embroidery, screen printing, patches, or dyeing techniques to give your hoodie a signature look.
Hoodie Customization Ideas3:
-
Embroidery
- Adds a premium touch with stitched logos or text.
-
Screen Printing
- Ideal for graphic designs and bold branding.
-
Patches and Labels
- Sew or iron-on patches for a streetwear aesthetic.
-
Dyeing and Bleaching
- Create tie-dye, acid-wash, or vintage effects.
| Customization | Effect |
|---|---|
| Embroidery | Elegant, professional look |
| Screen Printing | Bold designs, logos |
| Patches | Streetwear aesthetic |
| Dyeing | Unique, artistic effect |
Conclusion
Creating your own hoodie from scratch involves choosing quality fabric, designing a unique pattern, cutting and sewing with precision, and adding custom details. Whether you’re making a hoodie for personal use or launching your brand, mastering these steps will help you create a high-quality, custom hoodie that stands out.
-
Explore this link to discover the top fabrics that ensure comfort and durability for your custom hoodie. ↩
-
Learn about essential sewing machine features that will make your hoodie-making process smoother and more efficient. ↩
-
Check out this resource for innovative ways to personalize your hoodie and make it truly unique. ↩