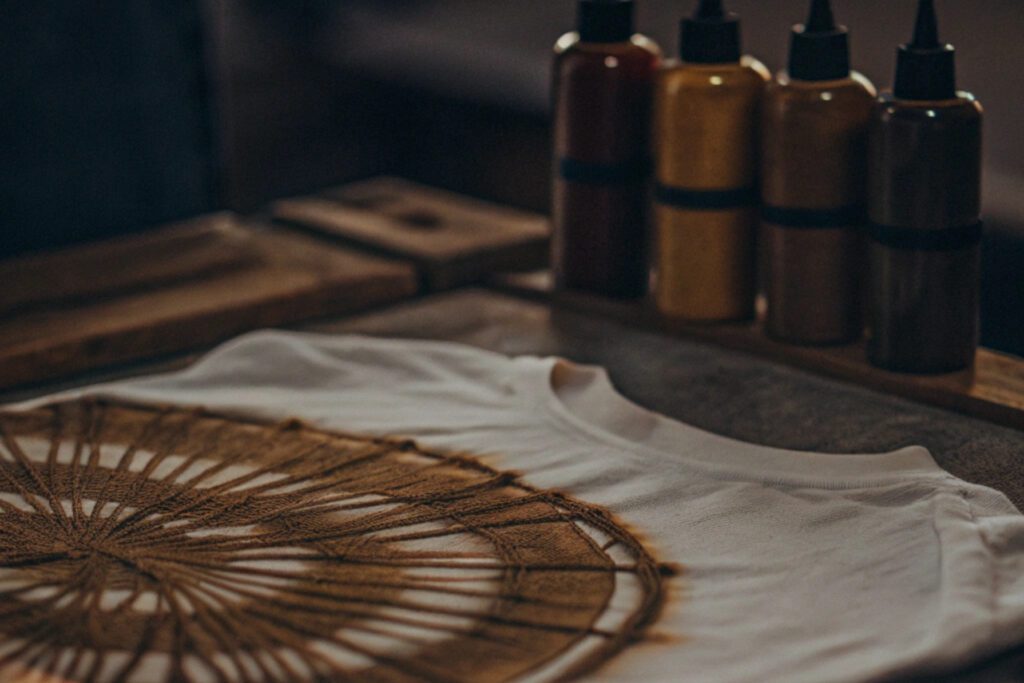
Tie-dyeing is a fun and creative way to personalize your wardrobe. Whether you’re crafting vibrant rainbow designs or subtle pastel patterns, the key to success lies in understanding the right techniques.1
To tie-dye t-shirts in multiple colors, you need to prepare the fabric, apply dyes strategically, and let the colors set for vibrant and lasting results.
Let’s explore step-by-step instructions and address common questions about tie-dyeing.
Is it better to tie dye wet or dry?
The condition of your fabric can affect how well the dye penetrates and blends.
It’s generally better to tie-dye a wet t-shirt because the moisture helps the dye spread evenly, creating softer transitions between colors.
Wet vs. Dry Tie-Dye
Learn more about the differences between wet and dry tie-dye methods.1
| Condition | Pros | Cons |
|---|---|---|
| Wet Tie-Dye | Enhances color absorption, smooth blending | Colors may bleed more than desired |
| Dry Tie-Dye | More control over color placement | Requires extra effort for dye absorption |
When to Use Each
- Wet Tie-Dye: Ideal for beginners or when you want blended, watercolor-like effects.
- Dry Tie-Dye: Great for creating sharper, defined patterns, like stripes or spirals.
Pro Tip
If you choose the wet method, make sure your t-shirt is damp, not soaking. Wring out excess water to avoid overly diluted colors.

How long should tie dye sit before rinsing?
The waiting period is crucial for achieving vibrant colors and ensuring the dye sets properly.
Tie-dye should sit for 6–24 hours before rinsing, depending on the intensity of color you want and the type of dye used.
Learn how to determine the ideal setting time for tie-dye.2
Why Does Timing Matter?
- Shorter Time (6–8 Hours): Produces lighter, less saturated colors.
- Longer Time (12–24 Hours): Allows for deeper, more vivid hues.
Tips for Optimal Results
- Cover and Keep Damp: Place your tie-dyed t-shirt in a plastic bag or wrap it in plastic wrap to retain moisture during the setting period.
- Room Temperature: Let the fabric sit in a warm area (around 70°F or 21°C) to encourage the dye to activate.
- Avoid Over-Saturating: If the fabric is too wet during the setting process, colors may become muddy or bleed excessively.
What Happens if You Rinse Too Early?
Rinsing too soon can wash away the dye before it has fully bonded with the fabric, resulting in faded or uneven colors. Always follow the recommended waiting time for your dye type.
What is the easiest technique for tie-dye?
Tie-dyeing involves various techniques, but some are simpler and more beginner-friendly than others.3
The spiral method is one of the easiest and most popular techniques for creating multi-color tie-dye designs.

Step-by-Step Guide for the Spiral Method
-
Prepare the T-Shirt
- Start with a clean, damp t-shirt.
- Lay it flat on a table or surface.
-
Create the Spiral
- Pinch the center of the t-shirt and twist it clockwise until the entire shirt forms a spiral shape.
- Use rubber bands to secure the spiral in place, dividing it into sections like a pie.
-
Apply the Dye
- Choose your colors and apply them to each section, ensuring even coverage.
- Alternate colors in adjacent sections for a vibrant pattern.
-
Set the Dye
- Wrap the t-shirt in plastic wrap or place it in a plastic bag to keep it damp.
- Let it sit for 6–24 hours.
-
Rinse and Wash
Wash tie-dye garments carefully to maintain their colors.4- Rinse the shirt under cold water until the water runs clear.
- Wash it separately with mild detergent to prevent color bleeding.
Other Simple Techniques
- Bullseye: Fold the shirt like an accordion and secure sections with rubber bands before applying dye.
- Scrunch: Crumple the t-shirt randomly and secure it with rubber bands for a marble effect.
- Stripes: Fold the shirt into horizontal or vertical pleats and dye alternating sections.
Choosing the Right Technique
The spiral method is best for bold, symmetrical patterns, while scrunch and bullseye techniques create more abstract and organic designs. Experiment with different methods to discover your favorite.

Additional Tips for Multi-Color Tie-Dye
-
Use High-Quality Dyes
Fiber-reactive dyes work best for cotton fabrics,5 ensuring vibrant, long-lasting colors. -
Wear Protective Gear
Use gloves and an apron to prevent staining your hands and clothes. -
Plan Your Color Scheme
Stick to complementary or analogous colors to avoid muddy results when colors overlap. -
Wash Separately
Always wash tie-dyed items alone for the first few washes to prevent dye transfer. -
Practice on Small Items
Test your techniques on smaller pieces like socks or bandanas before working on larger garments.
Conclusion
Tie-dyeing t-shirts in multiple colors is a creative and enjoyable process when done correctly. Whether you prefer the smooth blending of wet tie-dye, vibrant colors achieved by waiting 24 hours, or the simplicity of the spiral technique, following these tips1 will help you achieve stunning results. Start experimenting today and bring your colorful ideas to life!
Footnotes
-
Explains the benefits and drawbacks of wet and dry tie-dyeing techniques. ↩ ↩ ↩
-
Offers insights into the ideal setting times for vibrant tie-dye results. ↩
-
Highlights beginner-friendly methods like spiral and bullseye techniques. ↩
-
Provides washing guidelines to maintain tie-dye colors and prevent bleeding. ↩
-
Recommends high-quality dyes for long-lasting and vibrant results. ↩


