Skip to content
Printing your own T-shirts can be a creative way to launch a small brand or simply make custom pieces for yourself, friends, or a community group. With so many methods and tools available, beginners often feel overwhelmed by where to start. Understanding each step and choosing the right equipment ensures quality prints—without costly mistakes.
To print your own T-shirts, first choose the best printing method for your needs (screen, DTG, DTF, or heat transfer), gather the required equipment, prepare your design in the correct format, and use the right printing and fabric prep techniques. For larger runs or special finishes, consider outsourcing to a professional manufacturer.
After guiding dozens of brands and hobbyists through the printing process, I’ve learned that clear planning and simple tools make all the difference. Here’s how to get started the right way.
Choose the Right T-Shirt Printing Method1 for Your Needs
Each printing method has unique pros, cons, and best-use scenarios. Picking the right one saves you time, money, and frustration.
Screen printing is best for large batches and bold, simple designs, while DTG (direct-to-garment), heat transfer, and DTF (direct-to-film) are better for small runs, detailed art, or full-color prints.
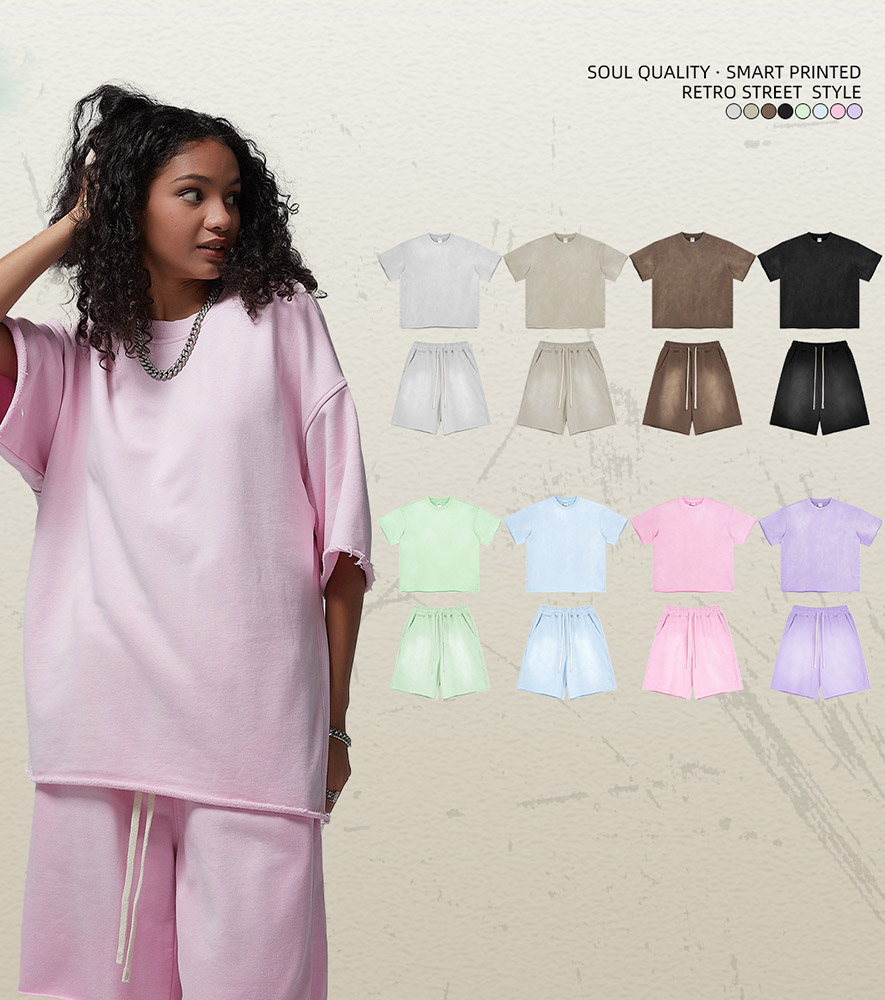
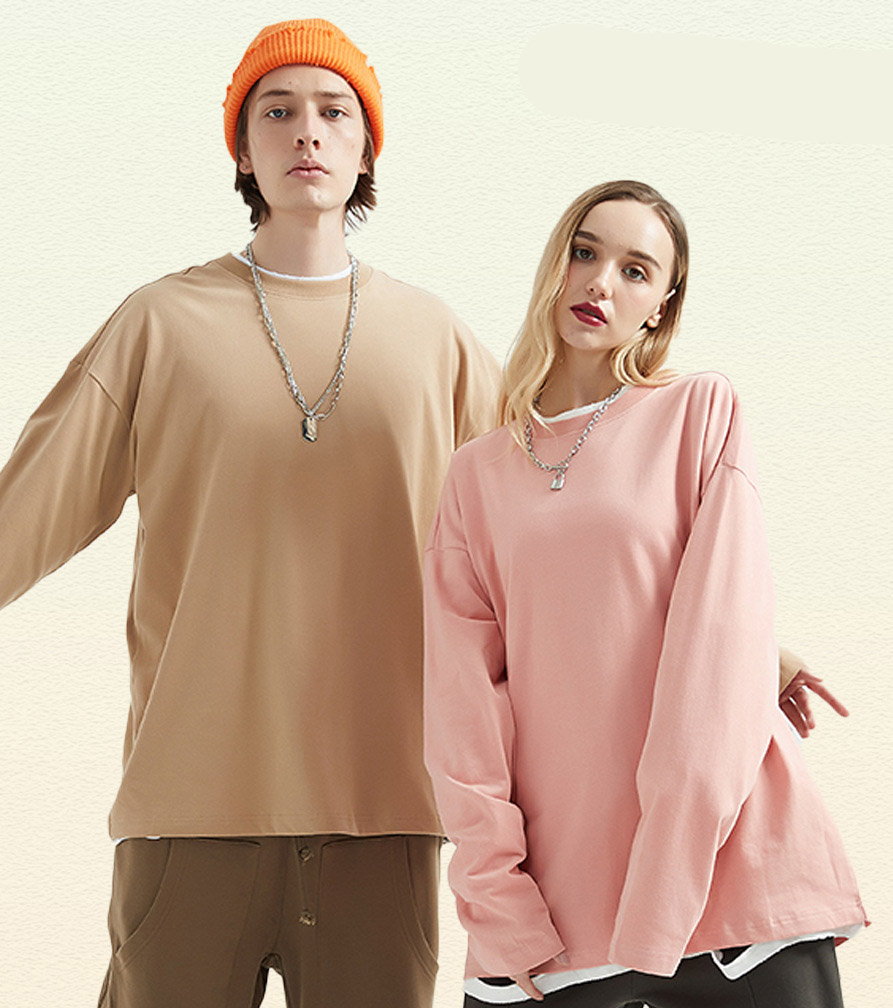
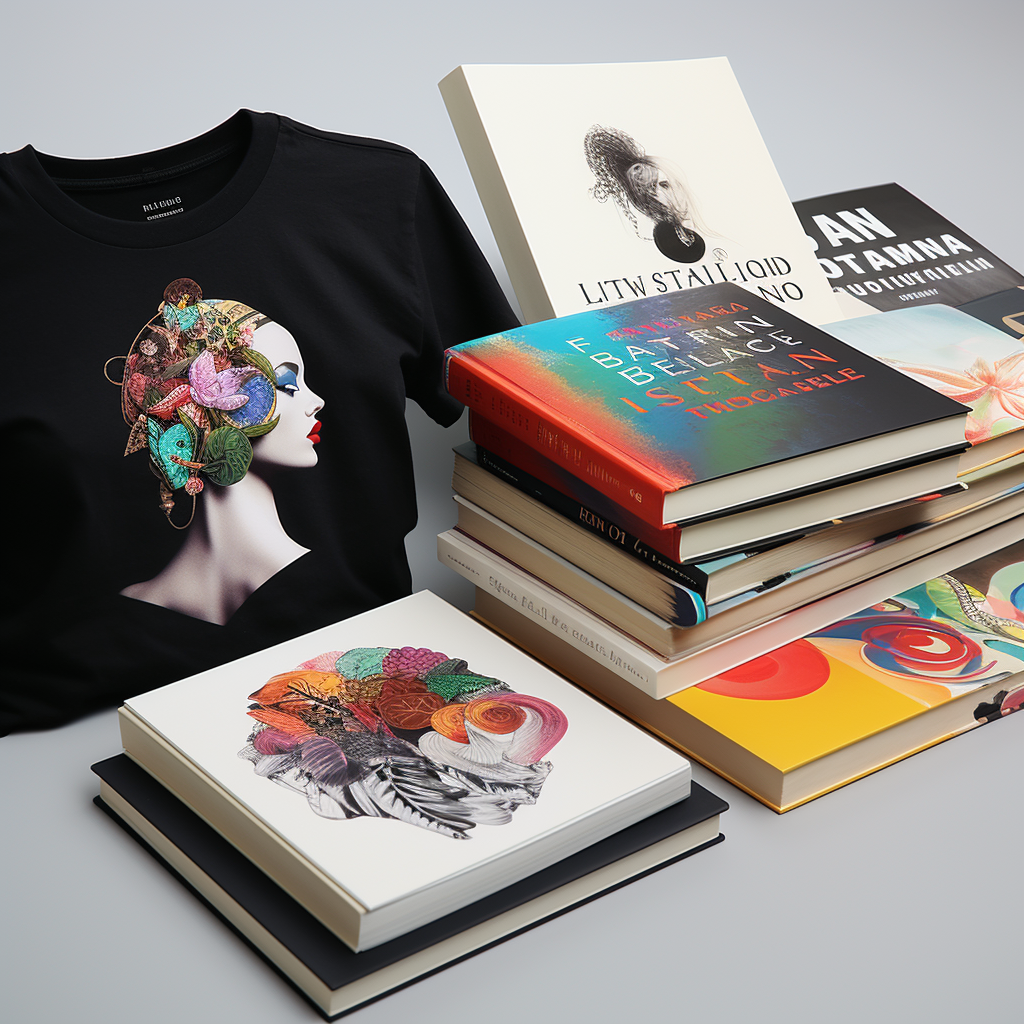
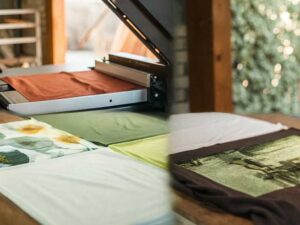 Artistic Shirt Fabric Printing
Is screen printing better for large batches or bold designs?
Yes. Screen printing produces durable, vibrant prints and is cost-effective for orders of 20+ shirts, especially with simple graphics or solid colors.
- Each color requires a separate screen and setup, so multi-color or photo prints increase time and cost.
- Best for team uniforms, events, or brands with single-color logos.
- Not ideal for small runs or highly detailed photo designs.
When should you choose DTG, heat transfer, or DTF printing?
DTG and DTF are ideal for small batches, one-offs, or detailed, multi-color designs. Heat transfer works well for beginners with basic equipment.
- DTG: Prints directly onto shirts—great for full-color, photo-quality images. Low setup, but slower per piece.
- DTF: Transfers printed film onto fabric—good for detail and durability, especially on dark shirts.
- Heat transfer: Uses vinyl or pre-printed transfers with a heat press—perfect for hobbyists, but less durable than screen or DTG.
| Method | Best For | Key Considerations |
|---|---|---|
| Screen Printing | Bulk, bold, solid colors | Higher setup, lower per-piece |
| DTG | Full-color, small runs | Slower, higher ink cost |
| DTF | Detailed art, versatility | Requires transfer press |
| Heat Transfer | Simple designs, home use | Lower durability |
What You Need to Start Printing T-Shirts at Home or in Studio
The basic gear you need depends on your printing method, budget, and scale.
You’ll need special inks, printers, or presses for most methods. Beginners can start with a home heat press and transfers, while more advanced users might invest in a DTG or screen print setup.

Do you need special inks, printers, or presses based on the method?
Yes. Each method uses different consumables and gear:
-
Screen printing: Screens, emulsion, squeegees, plastisol/water-based inks, drying rack or flash dryer.
-
DTG: DTG printer, textile inks, pre-treatment solution, heat press.
-
DTF: DTF printer, transfer film, adhesive powder, heat press.
-
Heat transfer: Heat press, vinyl cutter (for custom shapes), or pre-made transfer sheets.
-
Quality equipment produces longer-lasting, more professional results.
-
Some consumables (DTG ink, transfer film) can be expensive for small runs.
Can you start with basic tools or should you invest in pro equipment?
Beginners can absolutely start with basic tools, like a home iron and transfers or a small heat press. Invest in pro equipment as you scale up or demand increases.
- Many hobbyists launch brands with a $200–$400 heat press and basic supplies.
- Upgrading to pro gear ($1,000–$10,000+) allows faster output, higher quality, and more durability.
- Renting or partnering with a local print studio can bridge the gap.
How to Prepare Your T-Shirt Design for Printing
Getting your design print-ready is key for professional, vibrant results.
Use high-resolution vector files (AI, EPS, SVG, or high-res PNG at 300 dpi) and the correct color profile (RGB for DTG/DTF, Pantone or spot color for screen printing) to ensure sharp, accurate prints.
What file types, resolution, and color profiles are best for printing?
-
File types: Vector files (AI, EPS, SVG) are best, but high-res PNG or TIFF (300 dpi minimum) work for digital methods.
-
Resolution: 300 dpi at print size (e.g., 12×12 inches) is ideal.
-
Color profile: Use RGB for DTG/DTF, spot color/Pantone for screen.
-
Convert text to outlines/curves to avoid font issues.
-
Check transparency, layers, and background removal for digital prints.
-
Ask your print shop for specific requirements—they may have templates.
Working with a T-Shirt Manufacturer vs DIY Printing
Deciding whether to print in-house or outsource depends on volume, quality, and time.
Outsourcing makes sense for large runs, advanced finishes, or when you want factory-quality consistency. DIY is best for small batches, learning, or maximum creative control.
When does it make sense to outsource to a T-Shirt Manufacturer?
When you need 50+ shirts, want specialty prints (embroidery, discharge, puff), or require perfect color matching and finishing, professional manufacturers offer better pricing and results.
- Factories have larger, faster presses and can handle multiple steps—cutting, sewing, printing, finishing, and packing.
- Outsourcing saves you time and effort, but reduces your control over each piece.
- Many manufacturers have MOQs (minimum order quantities) and setup fees.
How do minimum order quantities, cost-per-piece, and finishing quality compare?
-
MOQs: Home printing = 1 piece. Factories = 50–100 pieces minimum (sometimes more).
-
Cost-per-piece: Cheaper at scale with a factory, but higher up front.
-
Finishing: Factories offer sewn labels, folding, and packaging that’s hard to match at home.
-
Consider local vs overseas for price, speed, and communication.
-
Always order samples before full production.
Pro Tips for Better Results and Long-Lasting Prints
Durability and quality depend on technique, fabric choice, and aftercare.
Prevent fading, cracking, or misalignment by using the right inks, proper curing (heat), and pre-treating fabrics. For best results, use smooth, tightly woven cotton and follow wash care guidelines.
How can you prevent fading, cracking, or misalignment in your prints?
-
Cure inks properly at the correct temperature.
-
Use pre-treated fabrics for DTG or DTF.
-
Align screens or transfers carefully using templates or guides.
-
Test each batch and adjust pressure, time, and temp as needed.
-
Store inks and transfers away from light and heat.
-
Wash finished shirts inside out, cold water, hang dry for best longevity.
-
Practice on scrap shirts before final production.
What fabrics and prep methods ensure the best adhesion and detail?
- 100% combed, ringspun cotton works best for all print types.
- Blends (cotton/poly) can be trickier, especially for DTG or sublimation.
- Pre-wash and dry shirts to remove sizing and shrinkage.
- Smooth out wrinkles before printing for crisp detail.
| Tip | Why It Matters |
|---|---|
| Use quality blanks | Better print adhesion |
| Pre-treat and pre-wash | Removes residue, shrinks |
| Proper heat/time/pressure | Sets ink, prevents peeling |
Conclusion
Printing your own T-shirts is achievable for beginners and small brands with the right tools and knowledge. Start with simple equipment, master the basics, and upgrade as you grow. For big orders or advanced finishes, partnering with a manufacturer can save time and deliver top results.
-
Explore this resource to understand various T-Shirt printing methods and find the one that suits your needs best. ↩