Do you want to make your own clothes that are praised by fashion brands? Come here and we will teach you how to measure simply, from bust to waist, every step is easy! Whether you’re a newbie or a seasoned pro, here are some tips to help you create the perfect fit. Stop worrying about clothes that are not the right size and follow our guide to create your own stylish piece step by step. Come and take a look, let each piece of clothing become a display of your unique style and be at the forefront of fashion!
Mastering Tailor-Made Clothes: Your Guide to Perfect Measurements
Creating clothes that feel great and fit perfectly starts with accurate body measurements. Whether you’re sketching your own patterns or using pre-made ones, precise measurements are key. Remember, the foundation of every garment that fits well is a spot-on pattern!
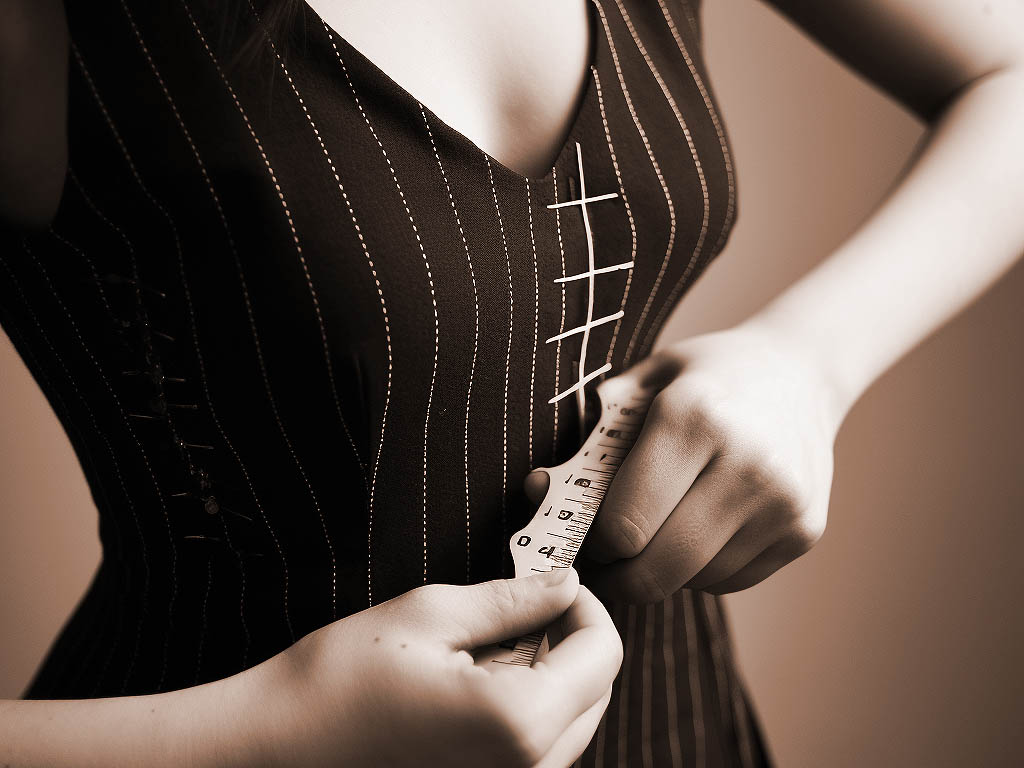
All you really need is a measuring tape. It’s easier if someone else helps you, but you can manage it solo too. Just sit in front of a mirror to make sure the tape is positioned correctly.
Ideally, you should measure yourself in just your underwear, though form-fitting clothes like tights are fine too.
To figure out the size for your finished garment, certain measurements are crucial. Usually, it’s best to have someone else measure you. If that’s not an option, you can have a clothing factory measure a well-fitting garment of yours and use those measurements as a guide.
Understanding Clothing Measurements
Looking at a size chart, you typically find four main measurements: bust, waist, hips, and height. But for different clothing styles, other measurements might come into play, like the inseam length for pants.
Essential Guide to Body Measurements for DIY Clothing
Clothing sizes often boil down to three main measurements: bust, waist, and hip circumferences. These are commonly referred to as “body measurements” or “key measurements,” aligning with the three significant curves of a woman’s body.

When embarking on homemade clothing projects, there are six fundamental steps to consider for measurements. Not every piece of clothing will need all six, but they are good to know.
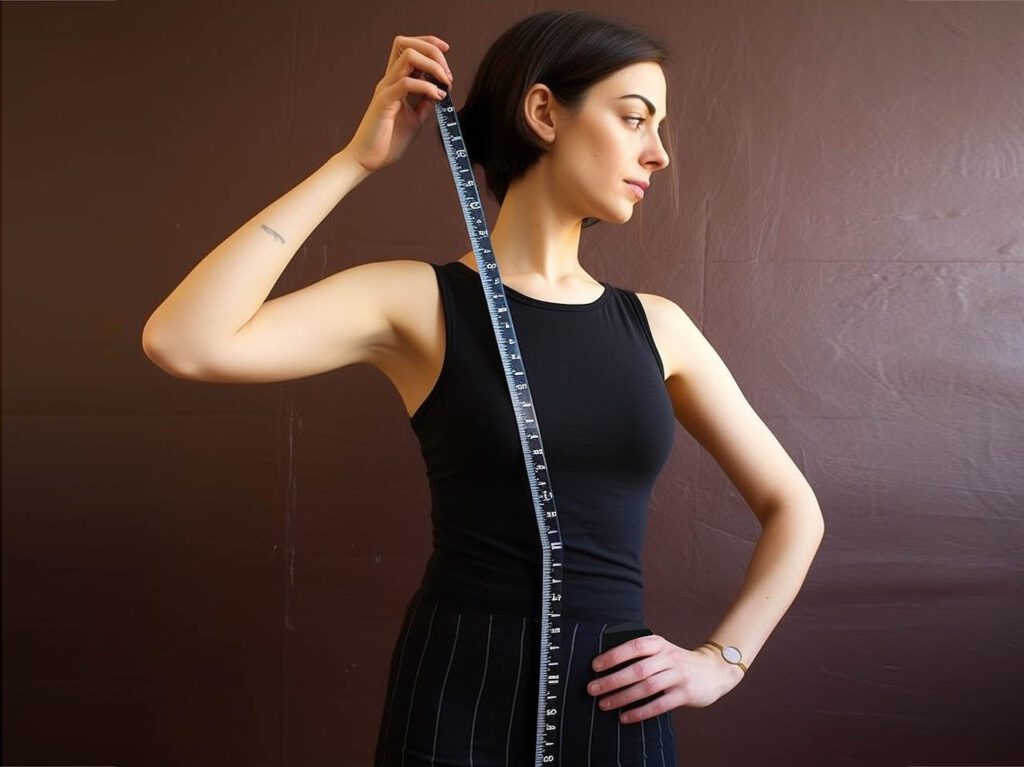
Start with your height
Then, measure your upper bust area, about two inches above your chest.
The bust circumference is crucial, involving a measurement around the chest’s widest part. The next step is the natural waist measurement, where you find the narrowest part, often with a ribbon or elastic band.
Measuring the hips is important too, focusing on the broadest part about 7 inches below your natural waist. Lastly, measure the waist length, which is the distance from the base of your neck’s bones to your waistline.
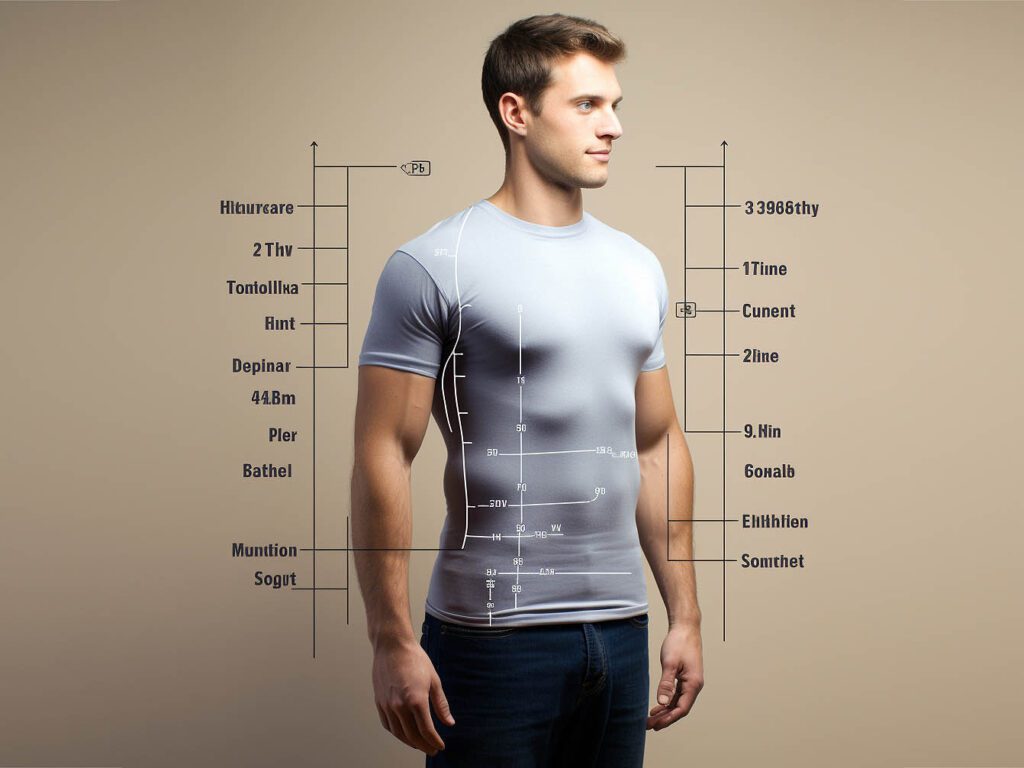
Perfect Dress Measurement Guide: Key Areas to Measure
Chest Circumference: To measure your bust, wrap the tape around the fullest part of your chest, passing over the chest and just below the shoulder blades at the back. It’s important to keep the tape level for accuracy.
Waistline: For the waist measurement, locate the narrowest point of your waist, typically situated between your lowest rib and belly button.
Hips: Measure around the widest part of your hips and buttocks for hip circumference.
Waist to Skirt Length: This measurement is taken vertically from your waist (the point you just measured) down to the skirt’s hem. The length varies based on the style of the skirt, be it knee-length, floor-length, or something else.
Shoulder to Waist: Measure vertically from the top of your shoulder (right where a shirt’s shoulder seam sits) down to your waist.
Sleeve Length: Choose your desired sleeve length and measure from the top of the shoulder (where a shirt’s shoulder seam typically starts) to the chosen length, like the wrist for a full sleeve.
Upper Arm Width: To ensure the sleeves fit just right, measure around the fullest part of your upper arm.
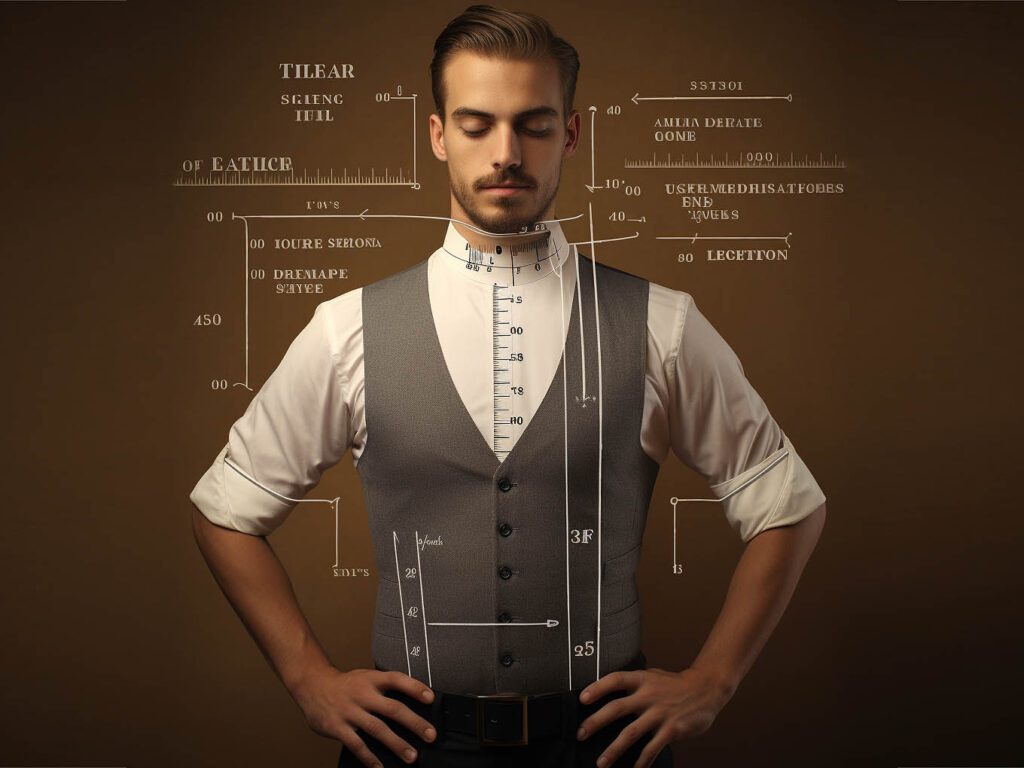
How to measure specific specifications of clothing?
When garment drafters work, they combine overall body measurements and floor plans of specific garments to create garment patterns. They use double arrows and markers (which can be numbers or letters) to indicate measurement points. These markings represent the various sizes listed on the specification sheet.
HPS (High Point Shoulder): This is an important reference point located where the neckline and shoulder seam meet at the highest point of the shoulder. There are many relevant measurements surrounding HPS.
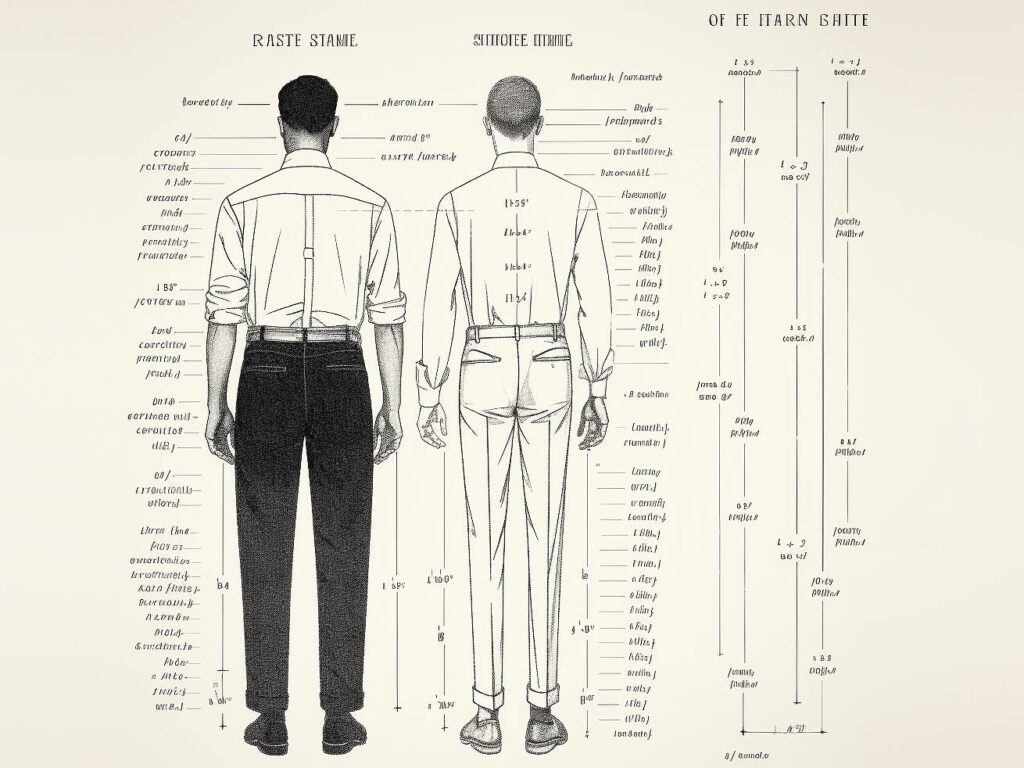
Center Front Line (CF): This is an imaginary line that runs vertically down the center of the front of the garment. Not to be confused with the front edge of a garment.
Center Back Line (CB): This is also an imaginary line that runs vertically down the center of the back of the garment.
Side seam (SS): This is the seam on the left and right sides of the garment from armpit to hem.
To create a garment measurement specification sheet, it is best to enlist the assistance of a garment technical package designer. Because even a small mistake can spell trouble for your custom clothing manufacturer. If you are a new brand and have no experience with clothing design and patterns, be sure to seek help.
What is bust measurement for clothing?
The best way to accurately measure your bust is to have another person place a tape measure around the widest part of your chest. For the most accurate measurements, keeping the ruler parallel to the ground is key. You can also get an accurate cross-sectional chest measurement by measuring a piece of well-fitting clothing, such as a dress shirt or sweatshirt.
Hemithorax and transverse chest measurements
Lay the T-shirt (or sweatshirt, shirt, etc.) flat on a flat surface, and then measure. The garment should sit slightly below where the sleeves join the body, measured from one edge to the other. For example, a person with a bust size of 100 cm will feel tight against the skin wearing clothing with a lateral measurement of 50 cm. Therefore, a demibust or crossbust measurement should be a few centimeters larger than an individual’s actual bust measurement (this depends on the desired fit and the elasticity of the garment).
Measurement Guide for Shirts and Tops
Bust: Measure in a straight line from side to side, 1 inch under the armpits.
Waist: Measure in a straight line from side to side at the designated location below the HPS (highest point of the shoulder) or SNP (side neck point).
Hem: Measure from side seam to side seam, along the edge of the hem (straight or curved, depending on the measurement chart’s instructions).
Shoulder Seam: Measured along the seam line or natural crease of the shoulder, from the HPS/SNP to the outer shoulder edge.
Shoulder Width: From shoulder edge to shoulder edge, across both shoulders.
Sleeve length: Measure from the outside of the shoulder along the crease to the edge of the cuff.
Armhole Bottom: Measure in a straight line from the bottom of the armhole to the outer edge of the shoulder.
Armhole Curve: Measure along the curve at the bottom of the armhole.
Upper Arm Width: Measure 1 inch below the armpit in a straight line from side to side, parallel to the cuff.
Cuff/Cuff Opening: Measure from side to side along the edge of the cuff or cuff opening.
Cuff Depth and Height: Measure from seam to edge of cuff.
Front Body Width: Measured in a straight line from side to side across the armhole, starting from the point specified below the HPS/SNP.
Back Body Width: Measured from the point designated below the HPS/SNP in a straight line from side to side across the armhole.
Front Neck Drop: The distance from the top of the front neck to the seam of the back neck.
Nape Drop: From the imaginary line to the upper edge of the nape seam.
Front Length: Measured in a straight line from HPS/SNP along center front line to hem.
Back Length: Measure from the center of the back of the neck down to the hem.
last words
Body measurements for clothing are measurements taken for a real person (or people) who will wear the clothing. These sizes are different from clothing sizes and can be measured manually or obtained from various body data services. To create a well-balanced, well-fitting garment, multiple body sizes need to be considered.