Skip to content
Custom printed shirts are more than fashion—they’re tools for identity, community, and marketing. Whether you’re printing for fun or launching a brand, getting it done right requires clear steps and smart choices.
To get a shirt custom printed in 2025, you’ll need to choose your purpose, pick the right vendor, prepare your design, select the print method and t-shirt style, then place and confirm your order. A sample is always recommended before bulk production.
I’ve helped dozens of brands—from startups to large-scale merch operations—successfully bring their t-shirt visions to life. Here’s my complete, no-fluff guide.
Step 1 – Choose Your Purpose and Quantity
Every print project starts with one key question: why are you printing the shirt?
Knowing whether you’re printing for yourself, a group, or a business determines everything—from price to vendor type to print method.
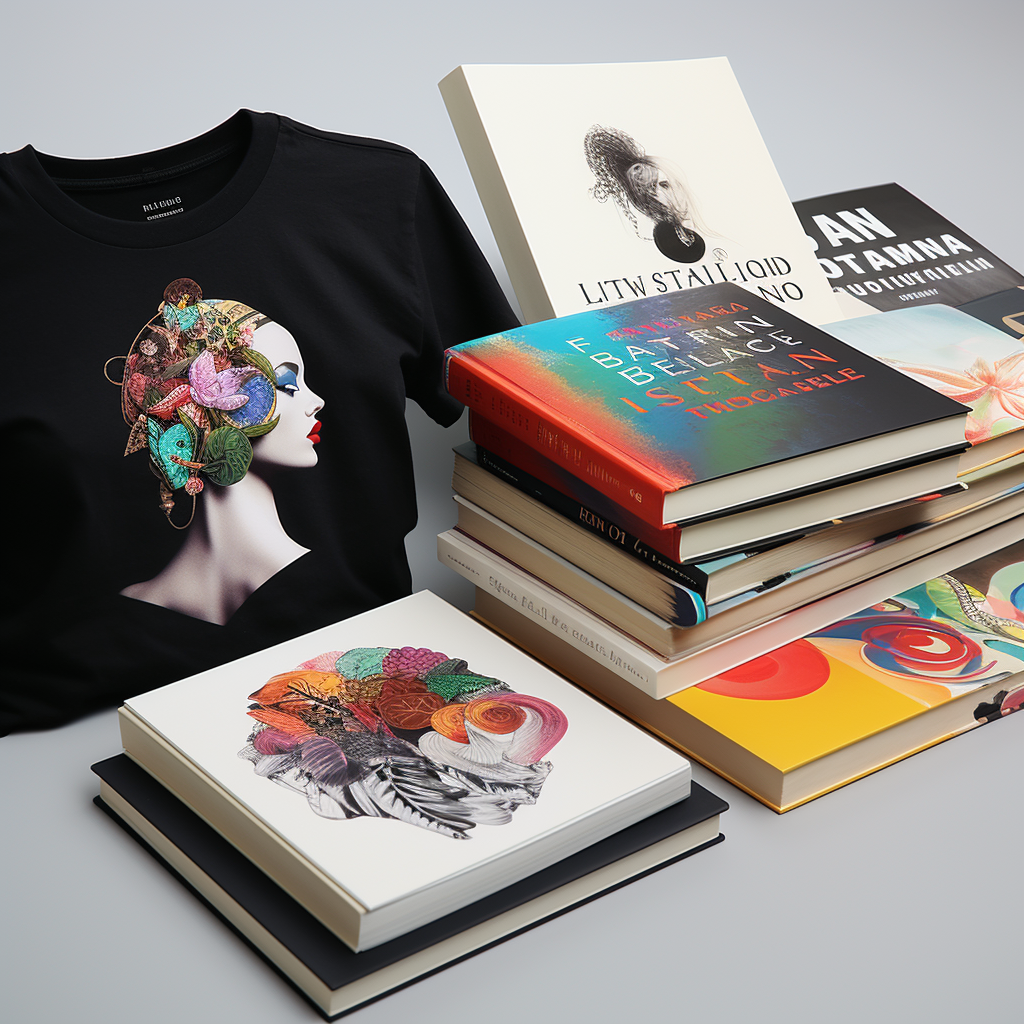
 Retail Packaging Display
Are You Ordering for Yourself, a Group, or a Business?
- Personal Use: Use POD platforms (Printful, Teespring). No MOQ.
- Team/Events: Consider local shops or bulk screen printers for cost-efficiency.
- Brand/Business: Go OEM with factories in China or India for control and margins.
Your goal defines your approach. For personal or seasonal needs, flexibility matters more. For business, consistency and customization win.
One-Off vs Bulk Orders: Why It Matters
| Order Type | Best Method | Vendor Type | Cost Efficiency |
|---|---|---|---|
| One-Off | DTG or Heat Transfer | POD/Local | Higher per unit |
| Bulk (100+) | Screen Printing or OEM | OEM/Factory | Lower per unit |
Bulk pricing unlocks real profit, but it only works when you’ve validated your design.
Step 2 – Decide Where to Get It Printed
Location and service type will impact price, lead time, and quality.
There are three main ways to get a shirt custom printed in 2025: POD platforms, local print shops, or working directly with overseas manufacturers.

Option 1: Print-on-Demand Platforms1 (e.g., Printful, Printify)
Best for creators, small sellers, and test products.
- No inventory or upfront costs
- Ships globally, integrates with Shopify
- Higher per-unit costs ($12–$20)
Use if you value speed over control.
Option 2: Local Print Shops (e.g., Kinkos, small studios)
Best for events, urgent orders, or when face-to-face matters.
- Fast turnaround (same-day possible)
- Personalized service
- Limited style/fabric range
- Higher price per shirt
These shops are perfect for low-risk, quick orders, especially if you want to touch samples first.
Option 3: Direct to Manufacturer (e.g., OEM in China or India)
Best for fashion brands, agencies, or bulk merch.
- Full control over fabric, fit, and finish
- Custom neck tags, packaging, and print method
- MOQs from 100–500 pcs
- Lower per-unit cost, but slower delivery
Use this route only if you’re ready to manage production timelines and international shipping.
Step 3 – Prepare or Choose Your Design
Without a solid design, even the best printer can’t save your shirt.
You can create your design using online tools like Canva or Adobe Express, or upload professional files (AI, SVG, PNG). Design quality2 affects how well it prints—so don’t skip this step.
Use Online Design Tools or Upload Artwork
No design team? Use these tools:
- Canva – Great for beginners
- Adobe Express – Easy templates
- Placeit – Mockups for POD designs
You can also hire a freelancer via Fiverr or Upwork to help finalize a commercial-grade file.
Accepted File Types (PNG, AI, SVG, etc.)
| File Type | Use Case |
|---|---|
| PNG | For DTG and heat transfer |
| AI/SVG | For screen printing, resizing |
| PSD | Editable for design tweaks |
| For approval previews |
Use high-resolution images (300 DPI at print size). Transparency matters for dark tees.
Design Tips: Resolution, Colors, Placement
- Resolution: Minimum 300 DPI
- Colors: Use CMYK or Pantone for consistency
- Placement: Center chest, left chest, back, sleeve—define exact coordinates
Ask vendors for mockups before confirming. Misaligned prints are common in rush jobs.
Step 4 – Select Your Shirt and Printing Method
Choosing the wrong shirt fabric or print method can ruin your design.
Pick a shirt that fits your audience and brand style—then match it with a print method that complements your design and budget.
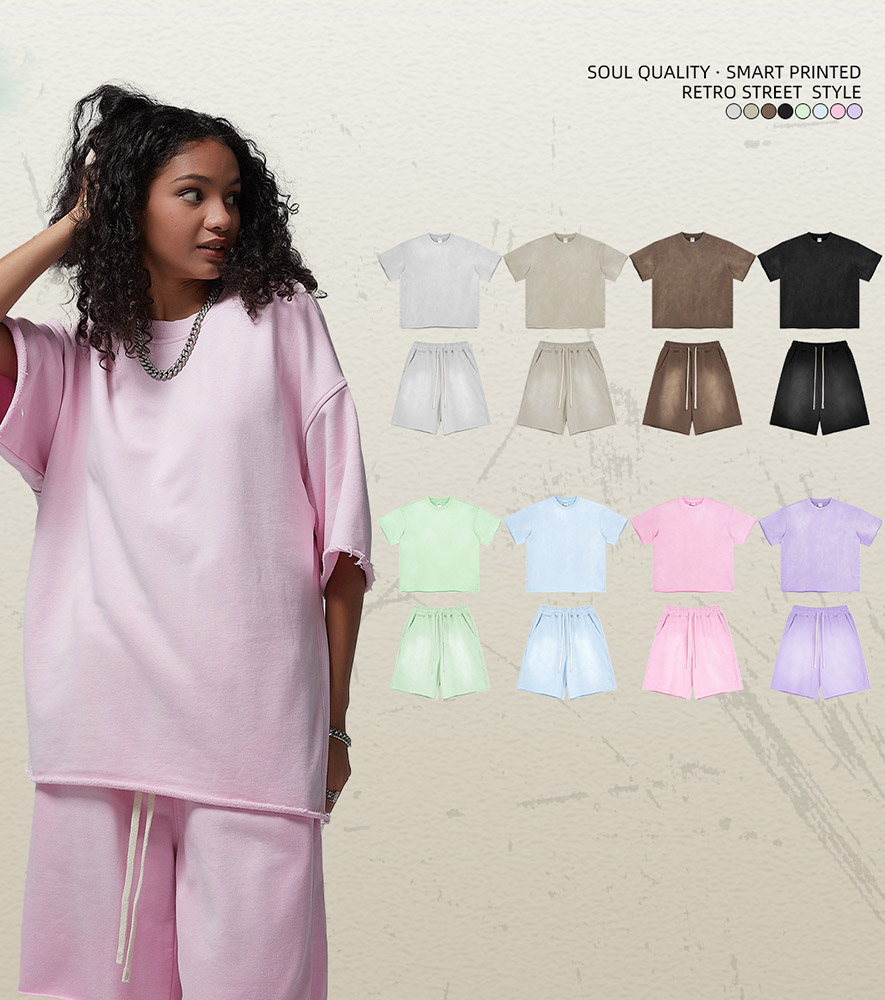
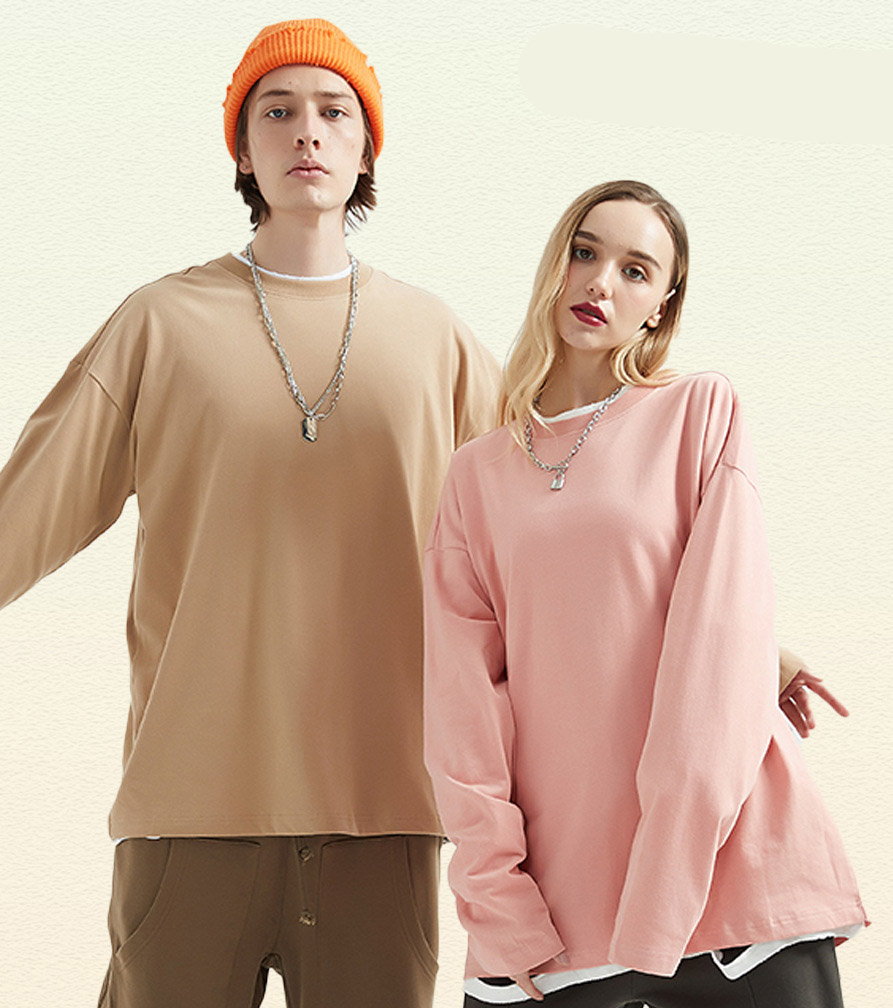
T-Shirt Types (Cotton, Blend, Oversized, Slim Fit)
| Style | Best For |
|---|---|
| 100% Cotton | DTG, screen printing |
| Poly/Cotton | Sublimation, durability |
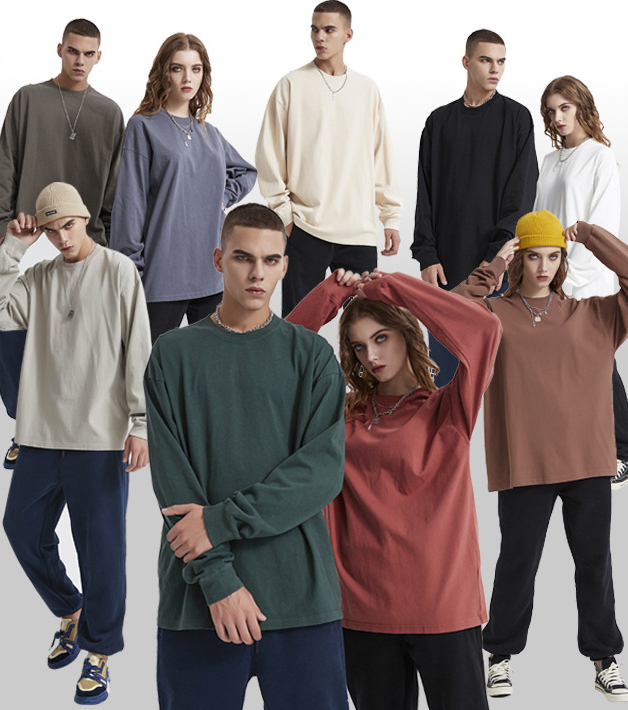
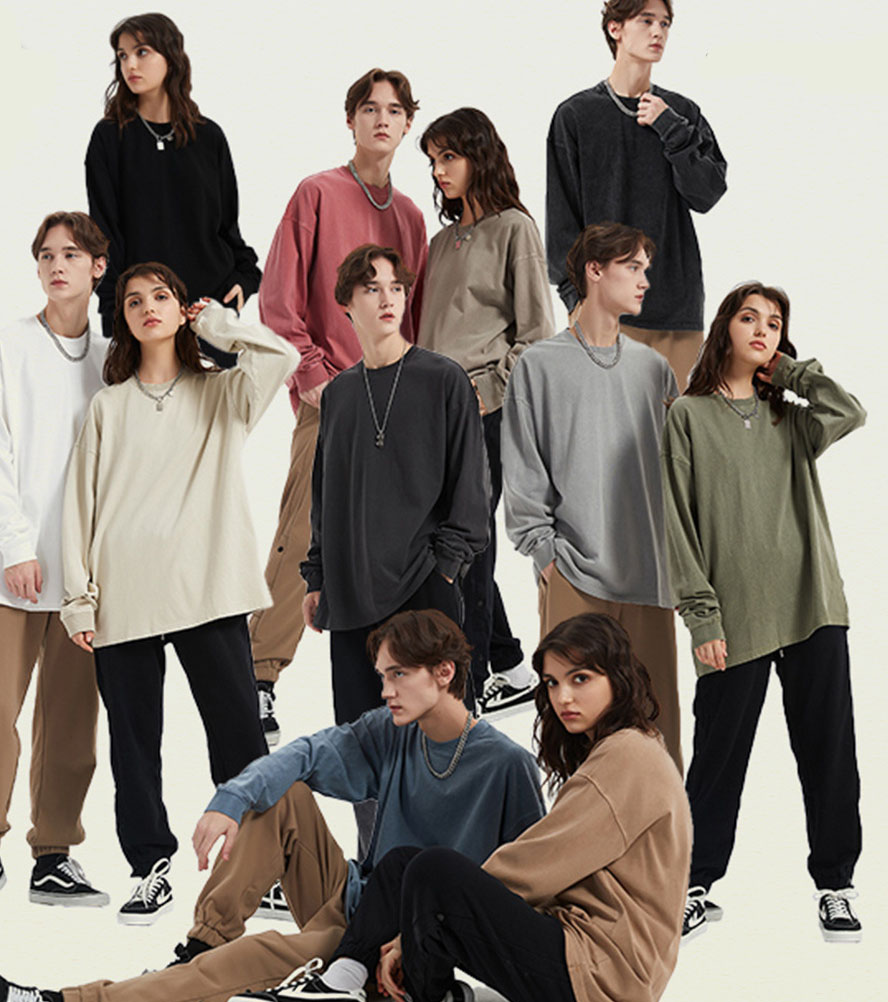
| Oversized Fit | Streetwear trends |
| Slim Fit | Gym wear, minimal brands |
| Organic Cotton | Eco-conscious brands |
Premium feel increases perceived value—don’t cheap out if you’re building a brand.
Print Methods Explained: DTG, Screen, Sublimation, Heat Transfer
| Method | Best For |
|---|---|
| DTG | Full-color designs, small runs |
| Screen | Bold graphics, bulk orders |
| Sublimation | All-over prints, poly fabrics |
| Heat Transfer | Promo runs, fast turnaround |
Match the method to your fabric and design type. Ask vendors to show print durability via videos or past samples.
Pros and Cons of Each Method
| Method | Pros | Cons |
|---|---|---|
| DTG | No setup fee, great colors | Fades faster, slower bulk |
| Screen | Long-lasting, sharp colors | High setup cost, MOQ needed |
| Sublimation | Vibrant, doesn’t fade/crack | Only for white/light poly |
| Heat Transfer | Cost-effective, no MOQ | Can peel/crack over time |
If you plan to wash and wear repeatedly, screen and sublimation last longer.
Step 5 – Place the Order and Confirm Details
Don’t just click "buy"—review everything.
Before placing an order, confirm the MOQ, final design mockups, payment terms, sample process, and expected delivery timeline.
Minimum Order Quantities (MOQ)3
| Vendor Type | MOQ Range |
|---|---|
| POD Platforms | None |
| Local Shops | 10–50 pcs |
| OEM Factories | 100–500 pcs |
Lower MOQs help test new designs. If going OEM, negotiate sampling MOQs first.
Payment, Approval, and Sample Process
Best practice flow:
- Approve digital mockup
- Receive a physical sample
- Pay 30–50% deposit
- Production begins
- Final payment on shipping
Avoid full upfront payments unless it’s POD or a trusted local shop.
Production and Delivery Timeframes
| Vendor | Sampling | Production | Delivery |
|---|---|---|---|
| POD Platforms | 0–3 days | 1–3 days | 3–7 days |
| Local Shops | 1–5 days | 5–10 days | Same-day/Local |
| OEM Factories | 5–7 days | 15–30 days | 7–15 days intl |
Build in extra buffer for customs, especially during Q4.
Bonus Tips: Avoiding Common Mistakes in Shirt Printing
A few overlooked details can derail your project. Here’s how to avoid them.
Common mistakes include bad mockups, underestimating shipping fees, and skipping sample approval. Double-check files and details before production begins.
Double-Check Print Area & Mockups
- Use print templates (many vendors provide them)
- Watch for distortion on curved areas like sleeves
- Don’t rely on AI previews—ask for real-life photos if possible
Watch Out for Hidden Costs (Shipping, Setup Fees)
Costs to ask upfront:
- Setup fees for screen printing ($30–$100 per color)
- Sampling fees (refundable?)
- Shipping (especially international air vs. sea)
- Packaging, relabeling, barcode printing
Always ask for a Proforma Invoice before confirming.
Always Order a Sample First
Even if it costs extra—it’s worth it.
- Spot quality issues before mass production
- Check color accuracy and print alignment
- Ensure sizing and fabric match expectations
One sample can save thousands in reprints or refunds.
Conclusion
Getting a custom printed shirt in 2025 is easier than ever—but only if you follow the right steps. Whether you’re printing one tee or building a brand, success lies in the details. Plan smart, print better, and always start with a sample.
-
Explore this link to discover top Print-on-Demand platforms that can help you create and sell custom shirts effortlessly. ↩
-
Learn why design quality is vital for successful custom shirt printing and how it impacts the final product’s appearance and durability. ↩
-
Understanding MOQs is crucial for budgeting your custom shirt project. This link will provide insights into typical MOQs across different vendors. ↩